
60 Second Makeover : Washi Tape on Pot

Since it is now officially spring (well, I’ve put my washing out for the first time since 2010 – OK, it may have not actually dried and a bird did poo on my top, but at least it’s not formed icicles so I consider this immense progress) I thought I’d share a mini plant pot hack I invented recently. I took this little hyacinth to come and live with me back at Stylist HQ at the end of a shoot, and immediately scoured my ever-growing collection of miscellaneous pots to see what I could house him in (plastic pots on drip trays just don’t cut it with me).

Nothing quite fit and the best I could come up with was the below, leaving the top edge of the plastic sticking out like an unsightly VPL. After a moment wondering if my OCD could cope with this visual blight and quickly deciding on a resounding no, I decided to wrap the offending edge in a little Japanese Washi tape, purchased at the Tate Shop (plus it has been passed law I think that a design blog must mention washi tape at least once a month). I then decided to go for broke and slosh a bit more around the ceramic pot to give the illusion that the whole thing had been designed to look like that from the get-go. Convincing, non?

In other floral news, I thought I’d share a little tale of the humble Onion flower.

After purchasing said flower for a shoot, this little sculptural lovely sat perfectly happy in a little water for a few days. Until I noticed this – a break for freedom?

A subtle ripping occured at its base, and it developed a wierd, bumpy translucency. Until finally it turned into this!

With its little cocoon dropped at its feet.

Note to any interested readers out there: it is at this point that the onion flower proves its name, and its water starts to reek to high heaven – but fortunately he seems happy dried out too and is now continuing his retirement in a waterless vintage bottle by the sink.
[All pictures by me, including the fuzzy iPhone one]
The Lightbulb Moment

As a renter with dubiously discoloured lighting cables, I have often dreamed of replacing my off-white plastic flex with a more funky, vintage-style fabric number (not a very rock ‘n’ roll statement, I know – at least Martha would approve though). Having recently replaced the horrendous lampshade provided with my flat (a 90’s-style boxy thing in red fabric, making the room look rather brothel-esque from the outside with its scarlet glow) I decided the flex needed an overhaul too – but how, when rewiring wasn’t an option?

Well, funny you should ask: inspired by my deeply lovely new Kura lampshade from Habitat (not-entirely-dissimilar to Skandium’s Le Klint lighting but a snip at a mere £25), I wanted the look from the instore display – a crisp white shade offset beautifully by hanging on a striking red fabric flex.

And then the lightbulb moment hit me (boom boom!) I grabbed my rickety wooden ladder, a generous length of red ribbon (though wool should work too, which I was originally going to use until I realised I didn’t actually have any), scissors and double-sided tape, and off I climbed for my mini-make-over. Firstly tying the ribbon around the base of my light fitting then wrapping the ribbon over to disguise it, I slinked my way to the ceiling, this time just securing the remaining flap of ribbon to the flex with a little double-sided tape (allow approx 3x more ribbon than the length of your flex).


The texture created from overlapping the ribbon on the way up gives a rather charming ‘wibble’ and just generally makes the whole thing look infinitely more chic, in my humble opinion. Climb up a ladder and have a go yourself during a spare moment – unless you’ve got something better to do, like throw your TV out of the window or give some orders to your entourage…
60 Second Makeover: Pillow Talk
I like to think of myself as a bit of a crafty cat. I spent last night wielding a glue gun about the place, and even as we speak I have an item of decoupage currently drying in my kitchen *cue smug-face*. But not all makeover projects require a degree in art and design, or the ability to correctly identify specialist upholstery tools from ancient instruments of torture. Sometimes there is no greater joy in life than simply cobbling something together using an old scrap of fabric and a blob of double-sided tape, then mere moments later standing back to admire your simple yet stunning transformation.

My first case in point being the bed in my new rented flat, pictured above. There’s nothing wrong with it, per se. In fact, given some of the horrors I witnessed in previous viewings (*shudder*) I’d even go so far as to say it’s quite nice. But not so nice for leaning back against and catching up with a little bedtime reading. However, as replacement or ‘proper’ customisation (i.e. anything done permanently) is sooooo out of the question I decided to re-use the foam I salvaged from my previous headboard to soften up this little baby.

By folding the pad in half and trapping the ‘top’ half between the wall and back of the headboard, I then laid this gorgeous paisley vintage throw over it, tucking the ends of it into the mattress to hold the whole thing in place.

And it seems to have worked rather well! I also used two spare cream pillowcases to cover the wooden ends of the headboard, which were still on show and looked a little odd. Nothing is stuck and the whole lot can be whipped off at a moments notice if required.

Oh, still here? After some more headboard action? Well, OK then – here’s a pic of the foam from my headboard in its previous incarnation, stuck to a giant (inherited) wooden headboard in my former rental flat. I wrote a post about this on my old blog, Craft Hacker, too if you’re super keen – right, off for a coffee, all this pillow talk is making me sleepy…

{image credits: all me}
Stylist’s Own
Stylist's Own is a sneaky peek into the the inspirations, work and insider secrets of London-based freelance Interiors Stylist and Writer, Joanna Thornhill. When I'm not busying myself with shooting, writing features, schmoozing around at press shows and design events or propping for jobs, I can often be found scouring the internet for all its yummy, inspirational goodness, ready to report back here. Along with admiring the work of others, I also share images from my own adventures in the world of DIY, 'craft hacking' and renovating my ramshackle two-bed Victorian terrace in Walthamstow, north-east London.
See my Styling

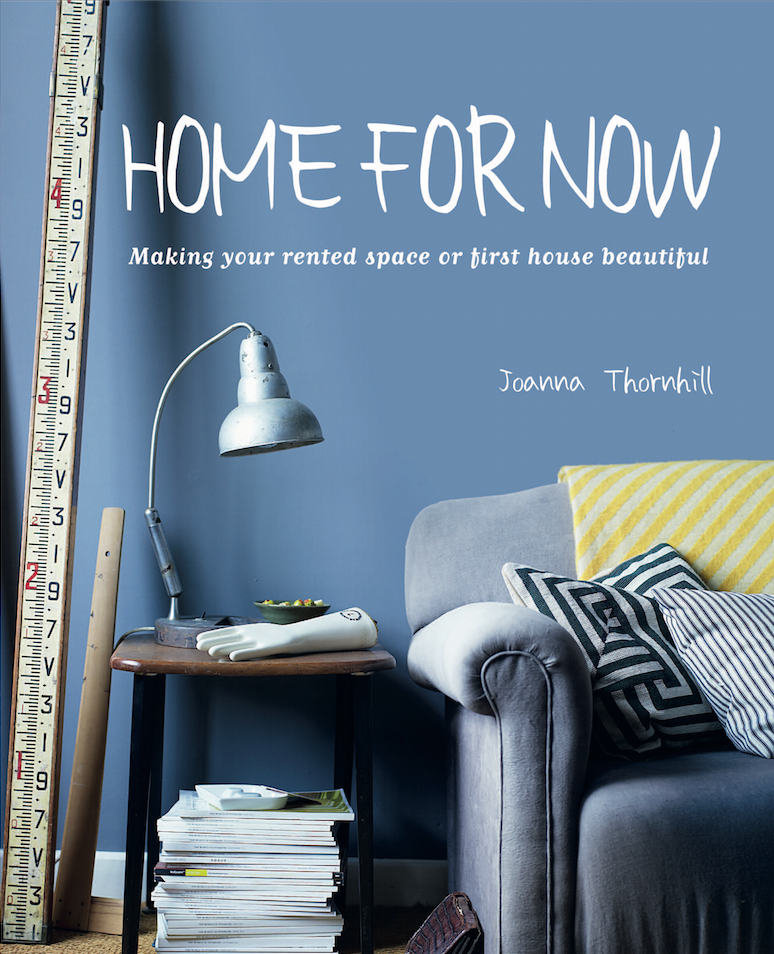
Buy my Book: Home for Now by Joanna Thornhill

My Snaps ‘n’ Pins


Follow me on Bloglovin’:

Badges of Honour:


